Blog

Classes & Groups

Blog

Independent Sitting: How to Get There!!

Independent sitting is an empowering milestone for your baby to reach, usually around six months. Baby is upright and sees the world from a completely new perspective. Baby has two free hands to reach, grab and manipulate and explore objects. AND, parents have a baby who can more easily entertain himself for a while without worrying about him crawling away…yet.

The sitting position is also very new from the perspective of posture control. For the first time, baby will control a position where his body and head cannot immediately contact, lean or rest on the floor or other surface. This requires balance with finely graded muscle control, strength and endurance in the neck, trunk, and leg muscles.

Usually baby wants to be upright before he can safely stay there independently (they often fall backwards when first trying to learn to sit up). Before you use props such as the very popular Bumbo chair, please make sure baby’s alignment is appropriate: 1) legs out in front on a flat surface rather than tucked underneath him or propped or in a wide butterfly position; 2) pelvis and back straight rather than rounded in a C-curve; and 3) head in midline rather than tilted one direction. Babies younger than five months usually do not have enough strength or control to practice sitting upright by themselves, even in a propping device. If they do sit in a propping device, they will more than likely be leaning heavily into the support barrier rather than trying to move away from it. However, if sitting alignment is good and baby is just learning the finer points of control before he achieves full independence, feel free to provide a safe environment for him to practice.

Three options (of many):

1. Place baby between your legs as you both sit on floor in long sit (legs in front, knees straight and knees/feet pointing up or slightly outward). Provide contact to the sides of baby’s hips with your legs and have baby reach for toys in front and slightly to the side. You can also rock side to side to provide sensory input about weight shifting, an important foundation of movement. As he develops more control, increase the space between your legs and baby’s hips so there is a wider gap and a larger space for him to control. Place toys in different places in front and to the side (first just outside one foot, and progressing backward closer to hip). The more baby has to reach outside the immediate base of his legs, the more control he needs to contact and grab the toy and return back to the middle to play. Also, the further back the toy is placed from toe to hip to behind the hip, the more he has to weight shift over his hip and rotate his whole body, making the movement more complex. Just remember that the baby’s goal is to get and play with the toy, not necessarily to learn to sit independently. So please let baby play with the toy once he gets it rather than taking it away and having him practice the move again.

2. In a small open box that is stabilized so it won’t tip over, baby can sit with legs in front and toys placed inside box, on walls or dangling above. You can also cut a few holes in side of box for baby to discover and explore. The walls are close enough to provide a barrier so when he does lose his balance, he falls into the side wall rather than all the way to the ground. The walls should be close enough to the baby so that he can push off them and recover back to the middle by himself. The box walls are also close enough and high enough so the impact from the “fall” is distributed across more of his body and the velocity of the hit is very slow, keeping him safe from injury. As he improves, you can use a bigger box so there is more room for him to move, make mistakes and learn from them. Finally, transition baby to an open space on the floor with baby surrounded by pillows or other soft objects, just in case he loses his balance and falls completely. In this case, you will probably need to help him get back into sitting. The box option (as long as it is stabilized and won’t tip over), allows baby to safely practice sitting without you being immediately present as in option #1.

3. Part of sitting independently is being able to control getting into and out of sitting independently. Babies typically master independent sitting when placed in the position by a parent before they can get there by themselves. However, if you practice the transition from sitting to floor and floor to sitting every time you set baby down or pick them up (even starting at birth), they will start to get the idea of how to move in and out of the position and have an easier time learning it. See “Moving in Gravity” blog post for more detailed information.

Most of all, have fun helping your baby achieve this wonderful motor milestone.

Moving in Gravity

As adults, we take for granted movement in an environment dictated by gravity. We lie down, sit, stand, walk and run all with assistance from a surface beneath us. We are grounded.

Babies, however, are not. When born, they are dealing for the first time with the concept of gravity. They have independent movement, but not independent mobility. It takes them months to figure out how to move in a controlled manner through space, first by rolling on the floor, then transitioning to sitting, crawling, pulling to stand, cruising along surfaces, and finally, walking! We know that the foundations of movement for these motor milestones are best developed when baby is placed on his tummy from the start, but there are other ways to introduce and practice these essential basics.

When we move our babies through space, picking up and placing, picking up and repositioning, picking up and handing off, we often don’t think about how this feels. If we put ourselves in our babies’ “shoes,” however, one can imagine that this might feel a bit overwhelming, where you don’t have much control, and that gravity that held you down in one spot all of a sudden disappeared. Adults don’t jump or fly from one position to another, but yet, that is exactly what we are imposing upon our babies. Imagine instead introducing the concept of a controlled weight shift, which IS how we move. Combine this with talking about the movement you are doing with them and you have provided a rich, multi-modal, experience of movement. You teach them what movement is supposed to feel like and you’ve drawn attention to parts of their body and what they are doing in the present moment. These strategies are especially useful for young babies that are more sensitive or that tend to startle with changes in movement and position.

An example of this kind of handling is when placing baby down for diapering. Rather than just placing baby down on her back when changing her diaper, try to have the first point of supported contact on the table, pad, or bed be her bottom and legs, as if sitting. Then slowly shift her over one hip and lower her down to her side, finally rolling her onto her back (the next time you place her down, transition over the other hip). If this is difficult to imagine, perform the transition yourself as if you are going from a sitting to a lying position in bed, then help your baby do the same movement. She will not help you at first, but you are providing the sensory experience of movement that will eventually be the way she does it independently. Practicing both sides will help develop symmetry. If you perform this movement every time you change her diaper, she will expect it, anticipate it, respond better and start helping you more. You have given her an opportunity to explore her own independent movement rather than only relying on you. You can reverse this transition to then pick her back up from the table.

Now, think of other times during the day when you pick up and place your baby. How can you alter these experiences to mimic more closely what she will do when moving independently? In our somewhat sedentary culture, it’s never too early to introduce independent movement and provide positive and happy experiences associated with movement to start instilling the value of active play!

Madeline’s Tummy Time Journey: Birth to Seven-Months

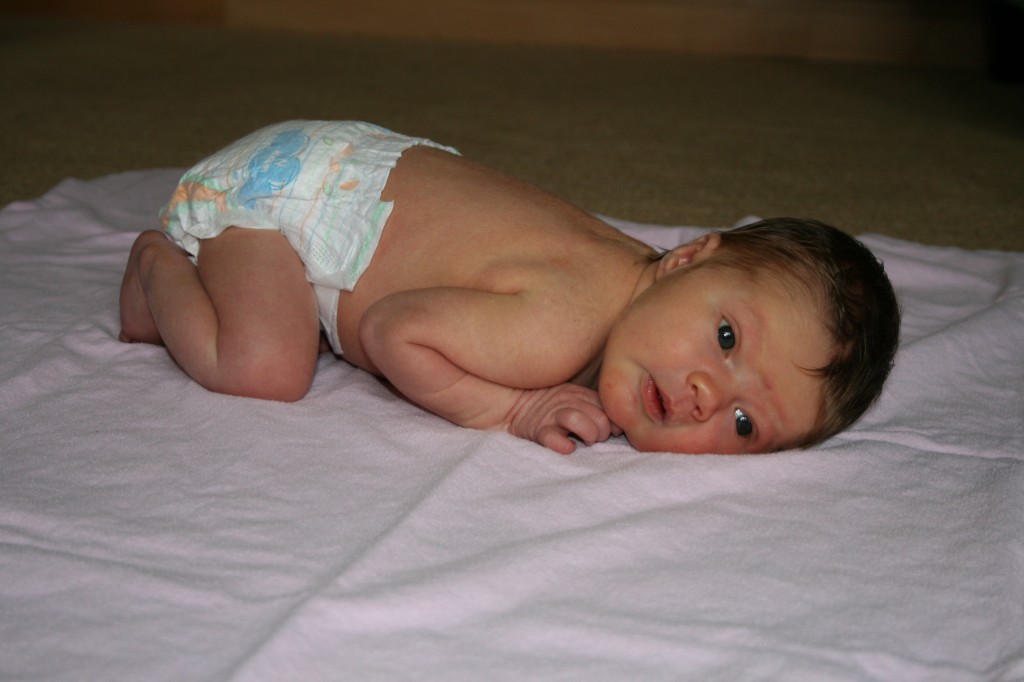
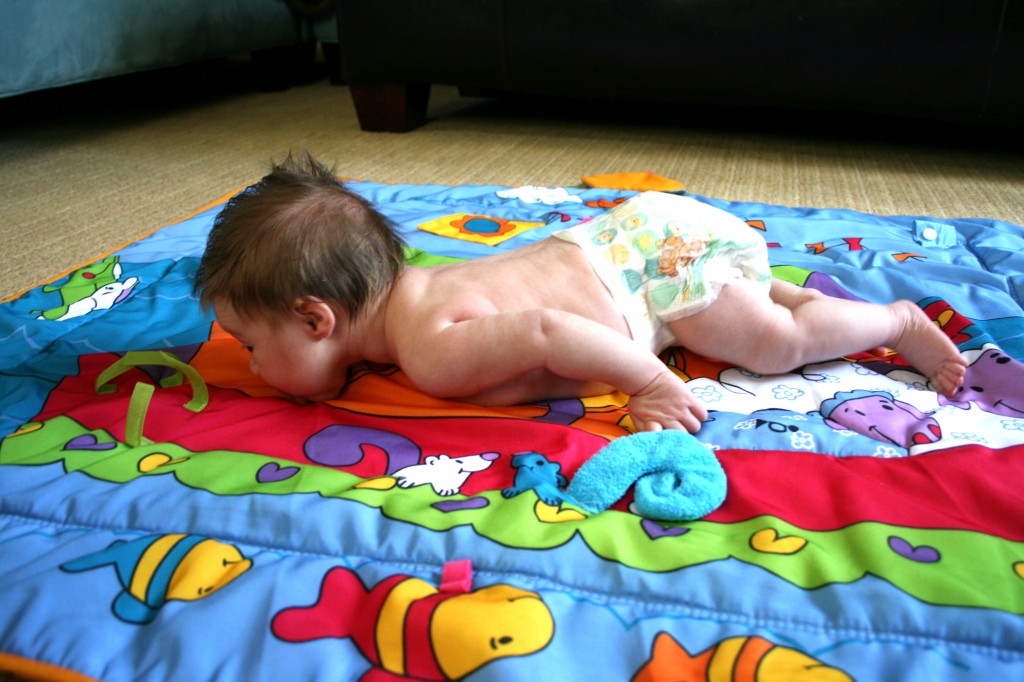
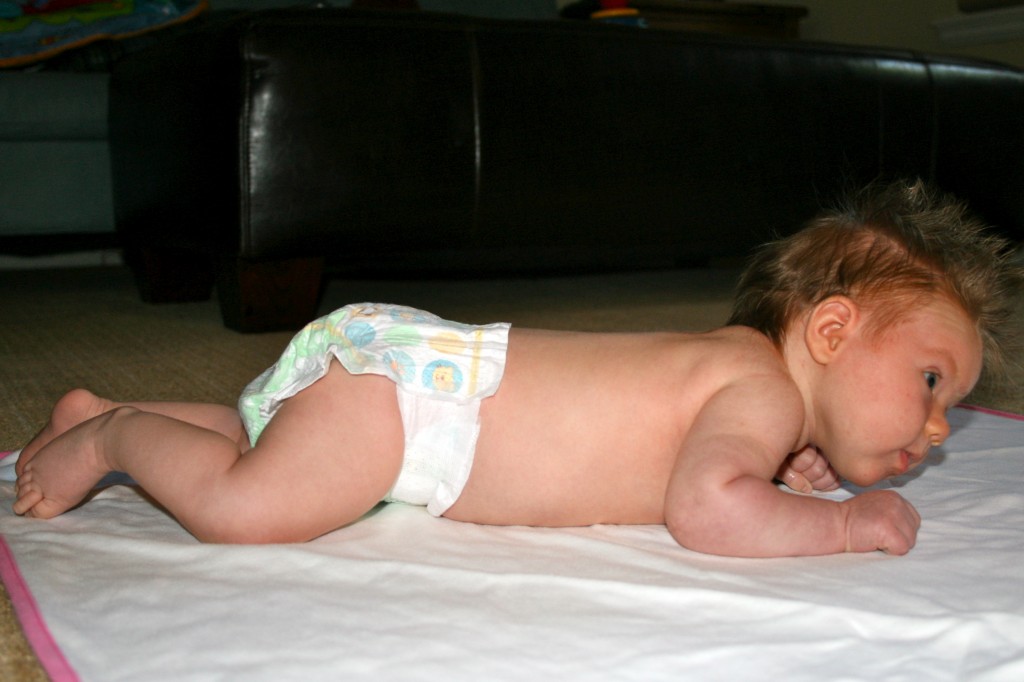
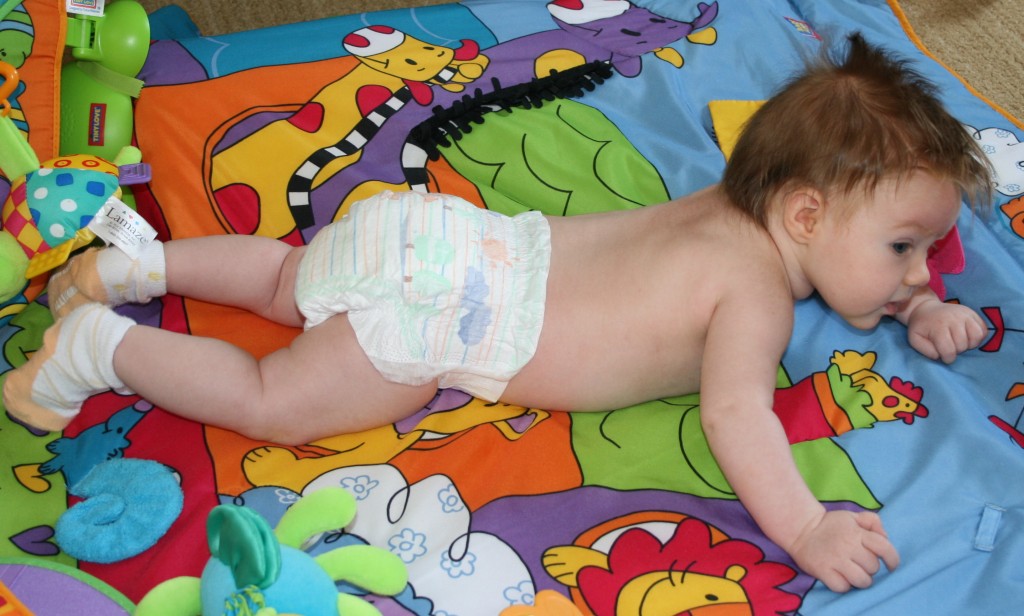
This series of photos and captions follows one baby girl, Madeline, from six days old to seven months in order to illustrate the typical progression and development of posture and movement skills while on the tummy. Disclaimer: Rather than choosing to use infant seats and other containers, Madeline was placed on her tummy first every time she was put down on the floor. She practiced tummy time regularly and usually enjoyed more than 60 minutes per day from birth and more than 90 minutes per day after three months of age.

At six days old, baby Madeline shows appropriate physiologic flexion and is supported by the floor happily in tummy time! The floor helps to prevent startles and providers her the opportunity to see her hand and get it to her mouth to start learning self-soothing skills. The floor serves as a soothing confinement, similar to the sensory experience of being in the womb. Though she occasional works to lift her head away from the surface, she is content to relax into the surface.
At 27 days old, baby Madeline’s legs are more extended at her hips and knees, allowing her pelvis to drop and weight to shift backwards a bit. Her arms at the shoulder and elbow are also stretched out more, allowing them to come away from her body, though her elbows are still behind her shoulders. She can lift her head higher, but total clearance from the floor as she rotates side to side is not a regular occurrence. VISION is a key driver to help “right” the head so her eyes approach the horizon. This natural drive to reach the visual horizon is essential for development of head control.
At six weeks, Madeline is more disorganized in her postures and movements than when she was birth to four weeks because she has had sufficient time for flexor muscles to relax and stretch out, but not enough time to develop active, controlled contractions against gravity. Head lifting while on tummy is typically unilateral so that her head is slightly rotated one way or the other rather than controlled in the middle. Babies can lift head to 45 degrees briefly, but there is still a lot of head bobbing.
At eight weeks, Madeline’s pelvis continues to drop because hip flexors are stretched out more and head lifting is easier because of 1) increased mobility in cervical/neck and thoracic spine; 2) increased strength in extensor muscles against gravity; and 3) a strong desire to lift head because of vision and vestibular/inner ear righting reactions that work to maintain eyes on the horizon and nose on the vertical. Postures are still asymmetrical, elbows tend to be behind shoulders, and there is inconsistent weight bearing through the arms.
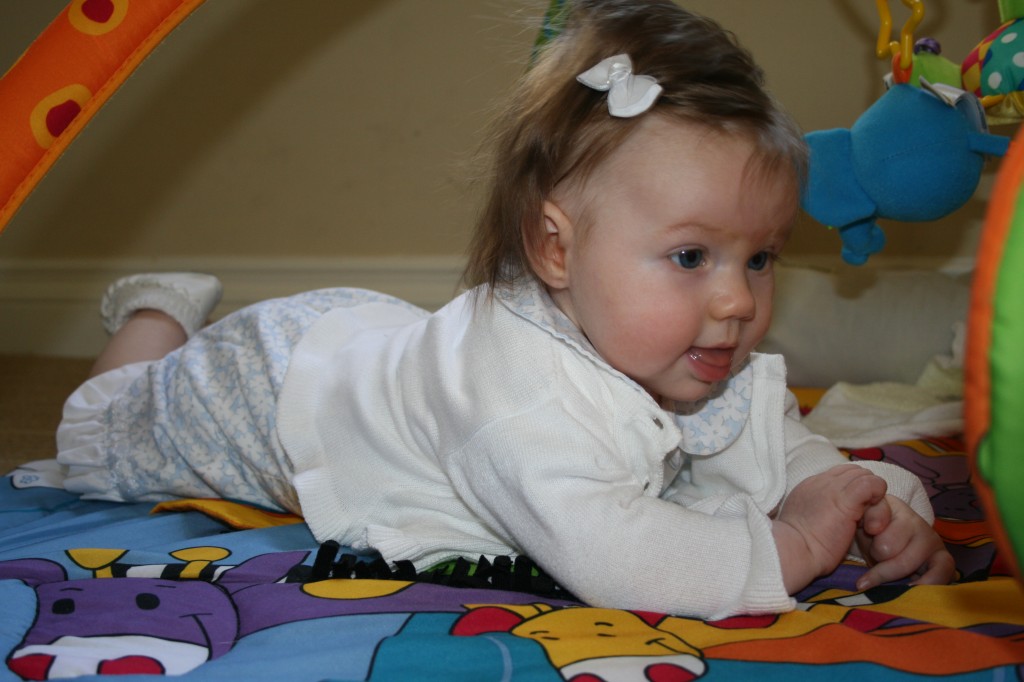
At eleven weeks, Madeline demonstrates more extension in the spine and, finally, the ability to get the elbows in front of the shoulders for more effective weight bearing on the arms. Babies at this age to three months should hold their head steadily at 90 degrees, maintain midline position and rotate each direction.
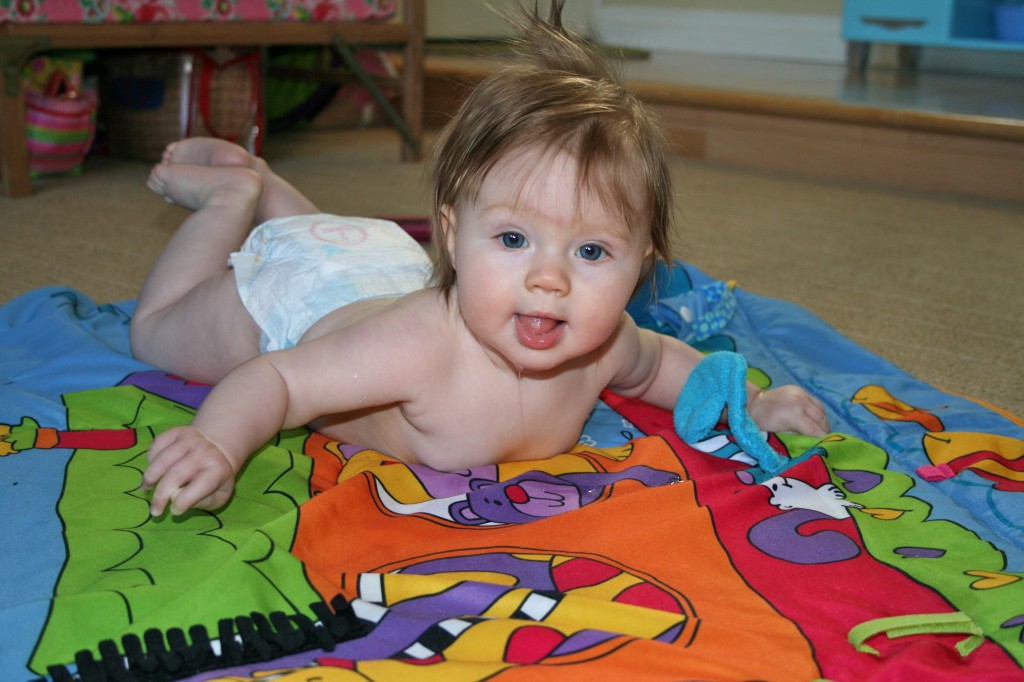
At 14 weeks, Madeline can easily hold her head up to 90 degrees with elbows in front of shoulders. She shows great symmetry between left and right sides on tummy and all other positions. By this age, babies should spend at least 90 minutes per day on their tummies.
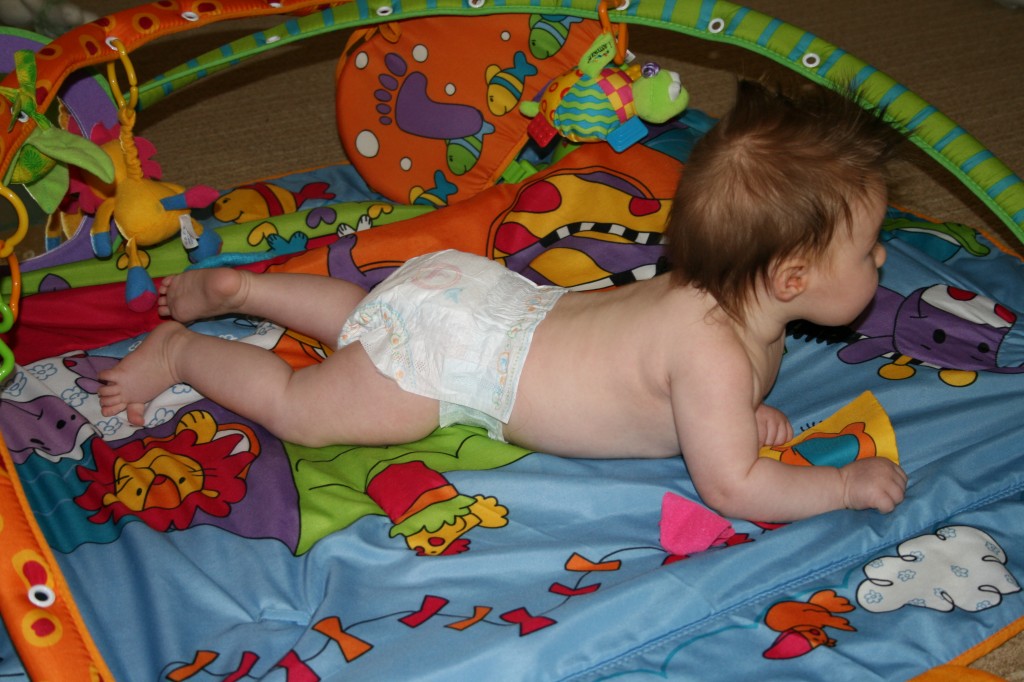
At four months, Madeline is starting to play with the swimming position where head and all limbs are extended off the floor. She will alternate between swimming and bearing weight, which is important to develop co-activation and symmetry between the front and back muscles.
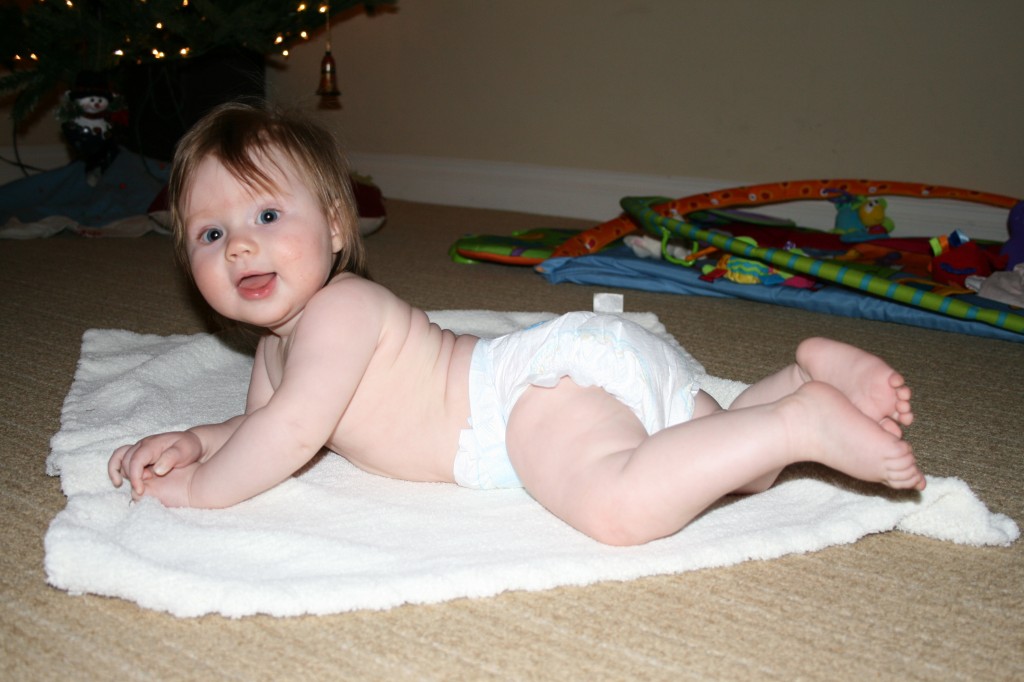
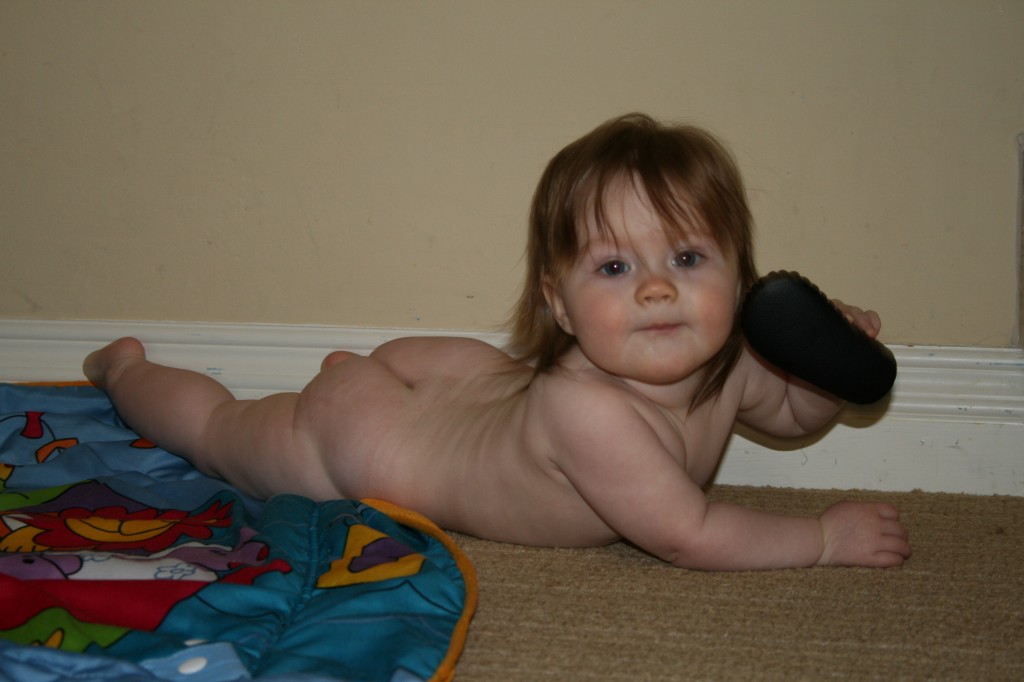
At five months, Madeline is far more proficient moving around on her tummy, pivoting, shifting, turning, and dragging or pushing herself around. She controls lateral weight shifts because there is now symmetry between the flexor muscles and the extensor muscles of the body. Madeline is showing elongation on the left weight bearing side and shortening on the right non-weight bearing side. Those side tummy rolls say it all. 🙂
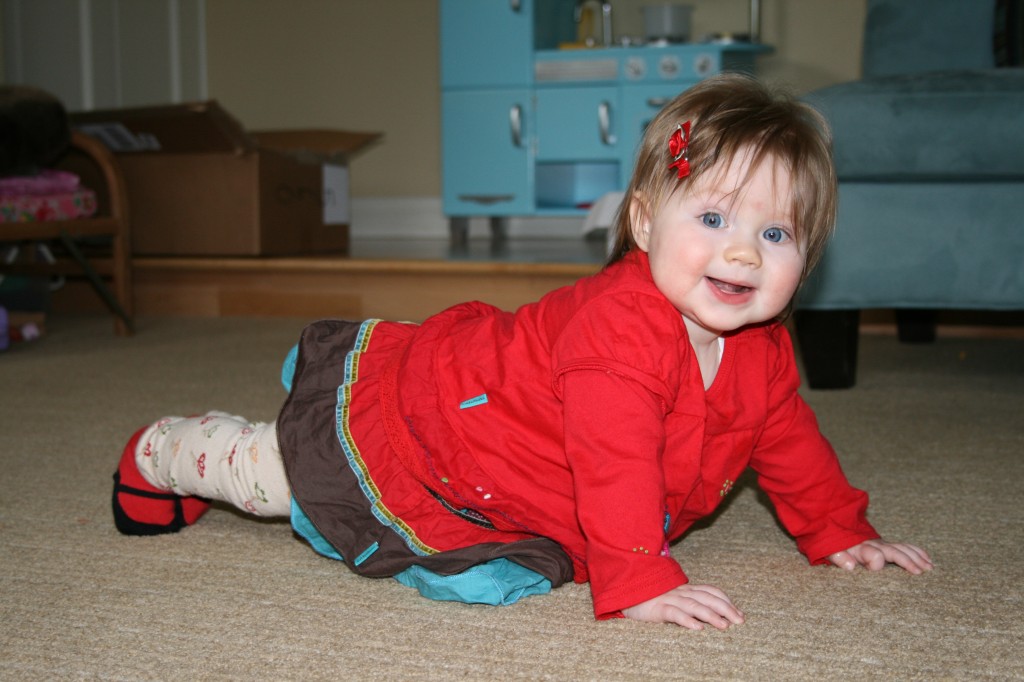
At six months, Madeline is performing a straight-arm plank, challenging herself to discover what her body can do! She moves easily around on her tummy, rolling, scooting, and pivoting independently. She sits independently when placed and is working on the transition from floor into sitting as well as the transition to hands and knees and rocking back and forth…getting ready to crawl! At this point, tummy time is usually a position for transition rather than the end product because she is independent balancing in upright positions. She has more access to her environment, people, and toys when sitting, where both her hands are free to explore and manipulate objects.
At seven months, Madeline shows us ultimate control of her body while on her tummy. She has shifted her weight over her right side, balancing without falling while reaching her left hand across her body. Movement like this requires precise balance and control of muscles on the front, back, right and left, all working in coordination with one another. Her body is active from her head to her toe. At this time, Madeline is capable of getting onto hands and knees and transitioning from her tummy to sitting by herself.


Practicing best practice

It has already been 4 weeks since Baby #2 arrived!  We have gone from the newborn “shock” and calm from leaving the comfy, cozy womb to truly being more awake, alert, and aware.  I have also had 4 weeks of working to practice what we preach in our Tummy to Play Everyday Classes.  I am a second time mom and now work to manage (aka juggle) a 3 year old, a newborn, a household chores/errands, and, oh yes, trying to “sleep when baby sleeps”!

I think that I now have a unique opportunity to blog about the reality of implementing much of what is presented in our classes . . .  when life happens.  So, here it goes . . .

  • Start Tummy Time Day 1:  Check!  Have done it every day.  One of our favorites is tummy to tummy.  It is so peaceful to watch a little one sleep but I sure would love some too!  We have managed to do true tummy time on the floor one time each day.  He is not always happy and begins to fuss after a while.  BUT, I do change his position or modify something before picking him up (ie. Put him on his side, eye level smile, sing, pat his back, etc.).  It definitely helps for a short time.
  • Leave the Carseat in the Car: I have ventured in to the doctor and the grocery store using the Sleepy Wrap only.  I find it much easier to go “car seat free” in public when with just the baby.  It is much easier to chase after the older one because “his listening ears weren’t turned on” while pushing a stroller vs. having a newborn in a carrier.  The car seat does stay in the car when we come home – a tremendous change from Baby #1.
  • Container Culture:  Hello, my name is Rachel and I use a container with my baby!!  My first son really only wanted to be held or be in a carrier – which became quite exhausting!  With Baby #2, we have more variety: held in arms or a carrier or being in the Co sleeper, pack and play, and the bouncy seat.  This baby still has yet to enjoy the swing.  The bouncy seat has been so useful for short periods of time for mommy to grab a shower, a peaceful meal, and also gives him a different view of the world!
  • Making Movements Meaningful:  Another tip that has been difficult to implement ALL the time: meaning all diaper changes, all transfers between caregivers, etc.   Yet, I find myself doing it more automatically than 4 weeks ago and definitely more automatically than with Baby # 1.
  • Symmetry:  Wow!  This has been the toughest one!  I am a physical therapist that works with children, have had one baby already, and still find it difficult and awkward to switch to my right side when carrying, bottle feeding, etc.  I didn’t realize just how difficult it would be.
  • Bonding: I love this part!!  My favorite times are our tummy to tummy play and snuggles, when baby is fast sleep in the carrier making cute baby sleepy noises; talking to baby about what he is doing, what I am doing, what we are doing together; making faces and imitating sounds; and kissing every sweet baby part on that lil monkey (cheeks, fingers, belly, toes . . you know).

I will continue work daily to practice what I preach and love the knowledge that I have gained by doing these Tummy to Play Classes.   Let’s continue on this journey together as our children move, play, and grow!

Rachel

Disclaimer
The content on this website is based on Wendi’s personal and professional experience and general research. It is not meant for individual medical diagnosis or treatment. If you are concerned about your child, please consult with your primary physician and/or therapist.